
How to Fit a Splashback
Laminate splashbacks offer an easy-to-clean, hygienic alternative to tiles that protects your kitchen walls from spills and splashes. Fitting a laminate, compact laminate or glass splashback is relatively simple, but there are important safety measures to know about when fitting behind a hob.
Our laminate and compact laminate splashbacks are tested on temperatures up to 180ºC and can be placed behind induction and gas hobs if protected by a glass splashback. A glass splashback offers an extra layer of protection - we suggest this is placed at least 75mm from the back of the hob, although please refer to your appliance's manual for exact requirements as the heat/flame generated varies by manufacturer.
Measure and mark out the area
- Measure the height and width of the wall area where you'll fit your splashback to.
Cut to size
Lay a section of cardboard onto a workbench to protect the surface of your splashback during cutting. For additional protection whilst cutting, apply masking tape to the splashback edge(s) you intend to cut to protect against chipping.
- Lay the splashback face down and draw your measurements onto the masking tape using a pencil.
- Secure the splashback to the workbench using clamps, placing cardboard under each clamp to prevent scratches.
- Using a clamp guide and the correct personal protective equipment, cut along the line(s) with a circular saw fitted with a clean, sharp blade.
- Remove the tape and dust to remove any debris.
- Sand the cut edges with 240-grit sandpaper to achieve a smooth finish.
Attach the splashback
Use a damp cloth to clean the wall area and dry thoroughly before you begin attaching the splashback to the wall.
- Sand the back of the splashback with 120-grit sandpaper to help the adhesive bond.
- Apply a suitable translucent silicone to the back of the splashback.
- Press the splashback firmly against the wall, keeping it flush. Wipe away any excess silicone from the edges before it dries.
- Allow at least 24 hours for the silicone to cure before cleaning the surface.
Add a glass splashback
If placing your splashback behind an induction or gas hob, finish your installation with a glass splashback to protect the surface from direct exposure to heat or flame. These instructions are designed for the Hafele Glass Splashback - if using a different glass splashback, refer to the fitting manual supplied.
- Mark out the placement of the four pre-drilled holes on the glass splashback onto the laminate or compact laminate splashback - we recommend leaving a 2mm tolerance around all outside edges of the glass splashback.
- Once happy with the placement, drill the four holes into the decorative splashback and wall - use the fixings supplied with the glass splashback for a secure fitting.
- Seal around the edge of the glass splashback with a suitable sealant to prevent moisture and dirt ingress.
- Allow 24 hours for the silicone to cure before cleaning the surface.
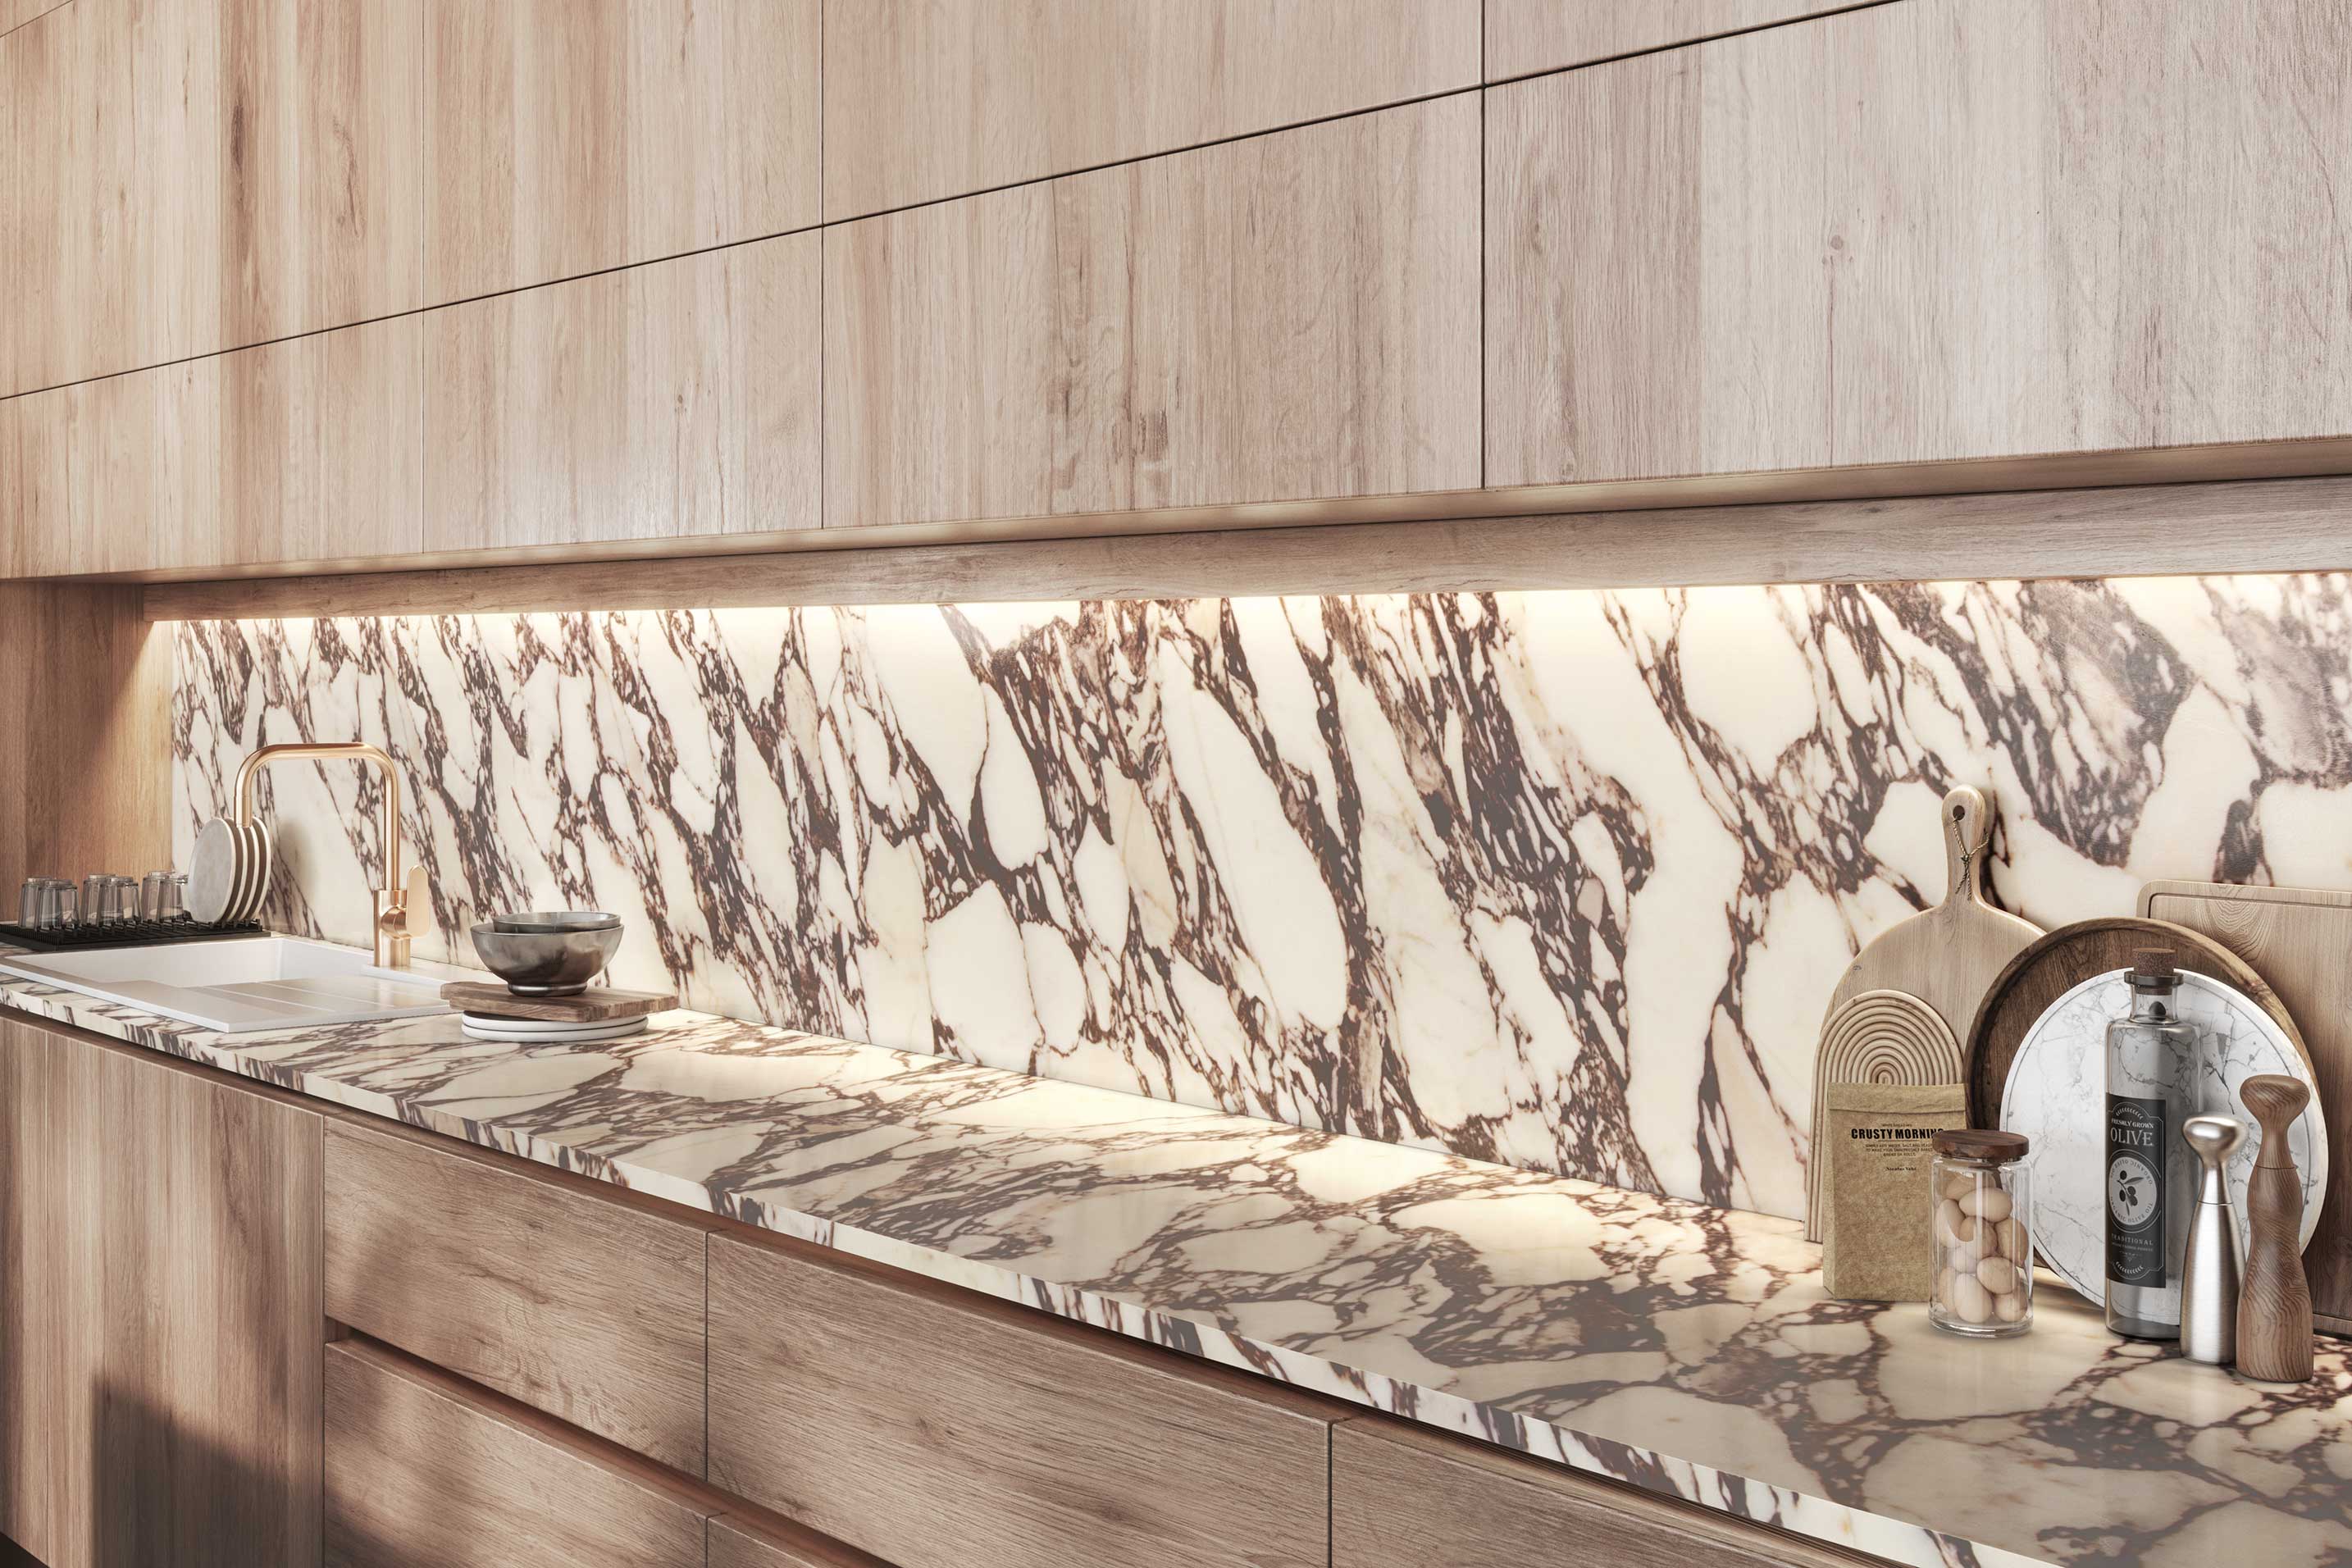
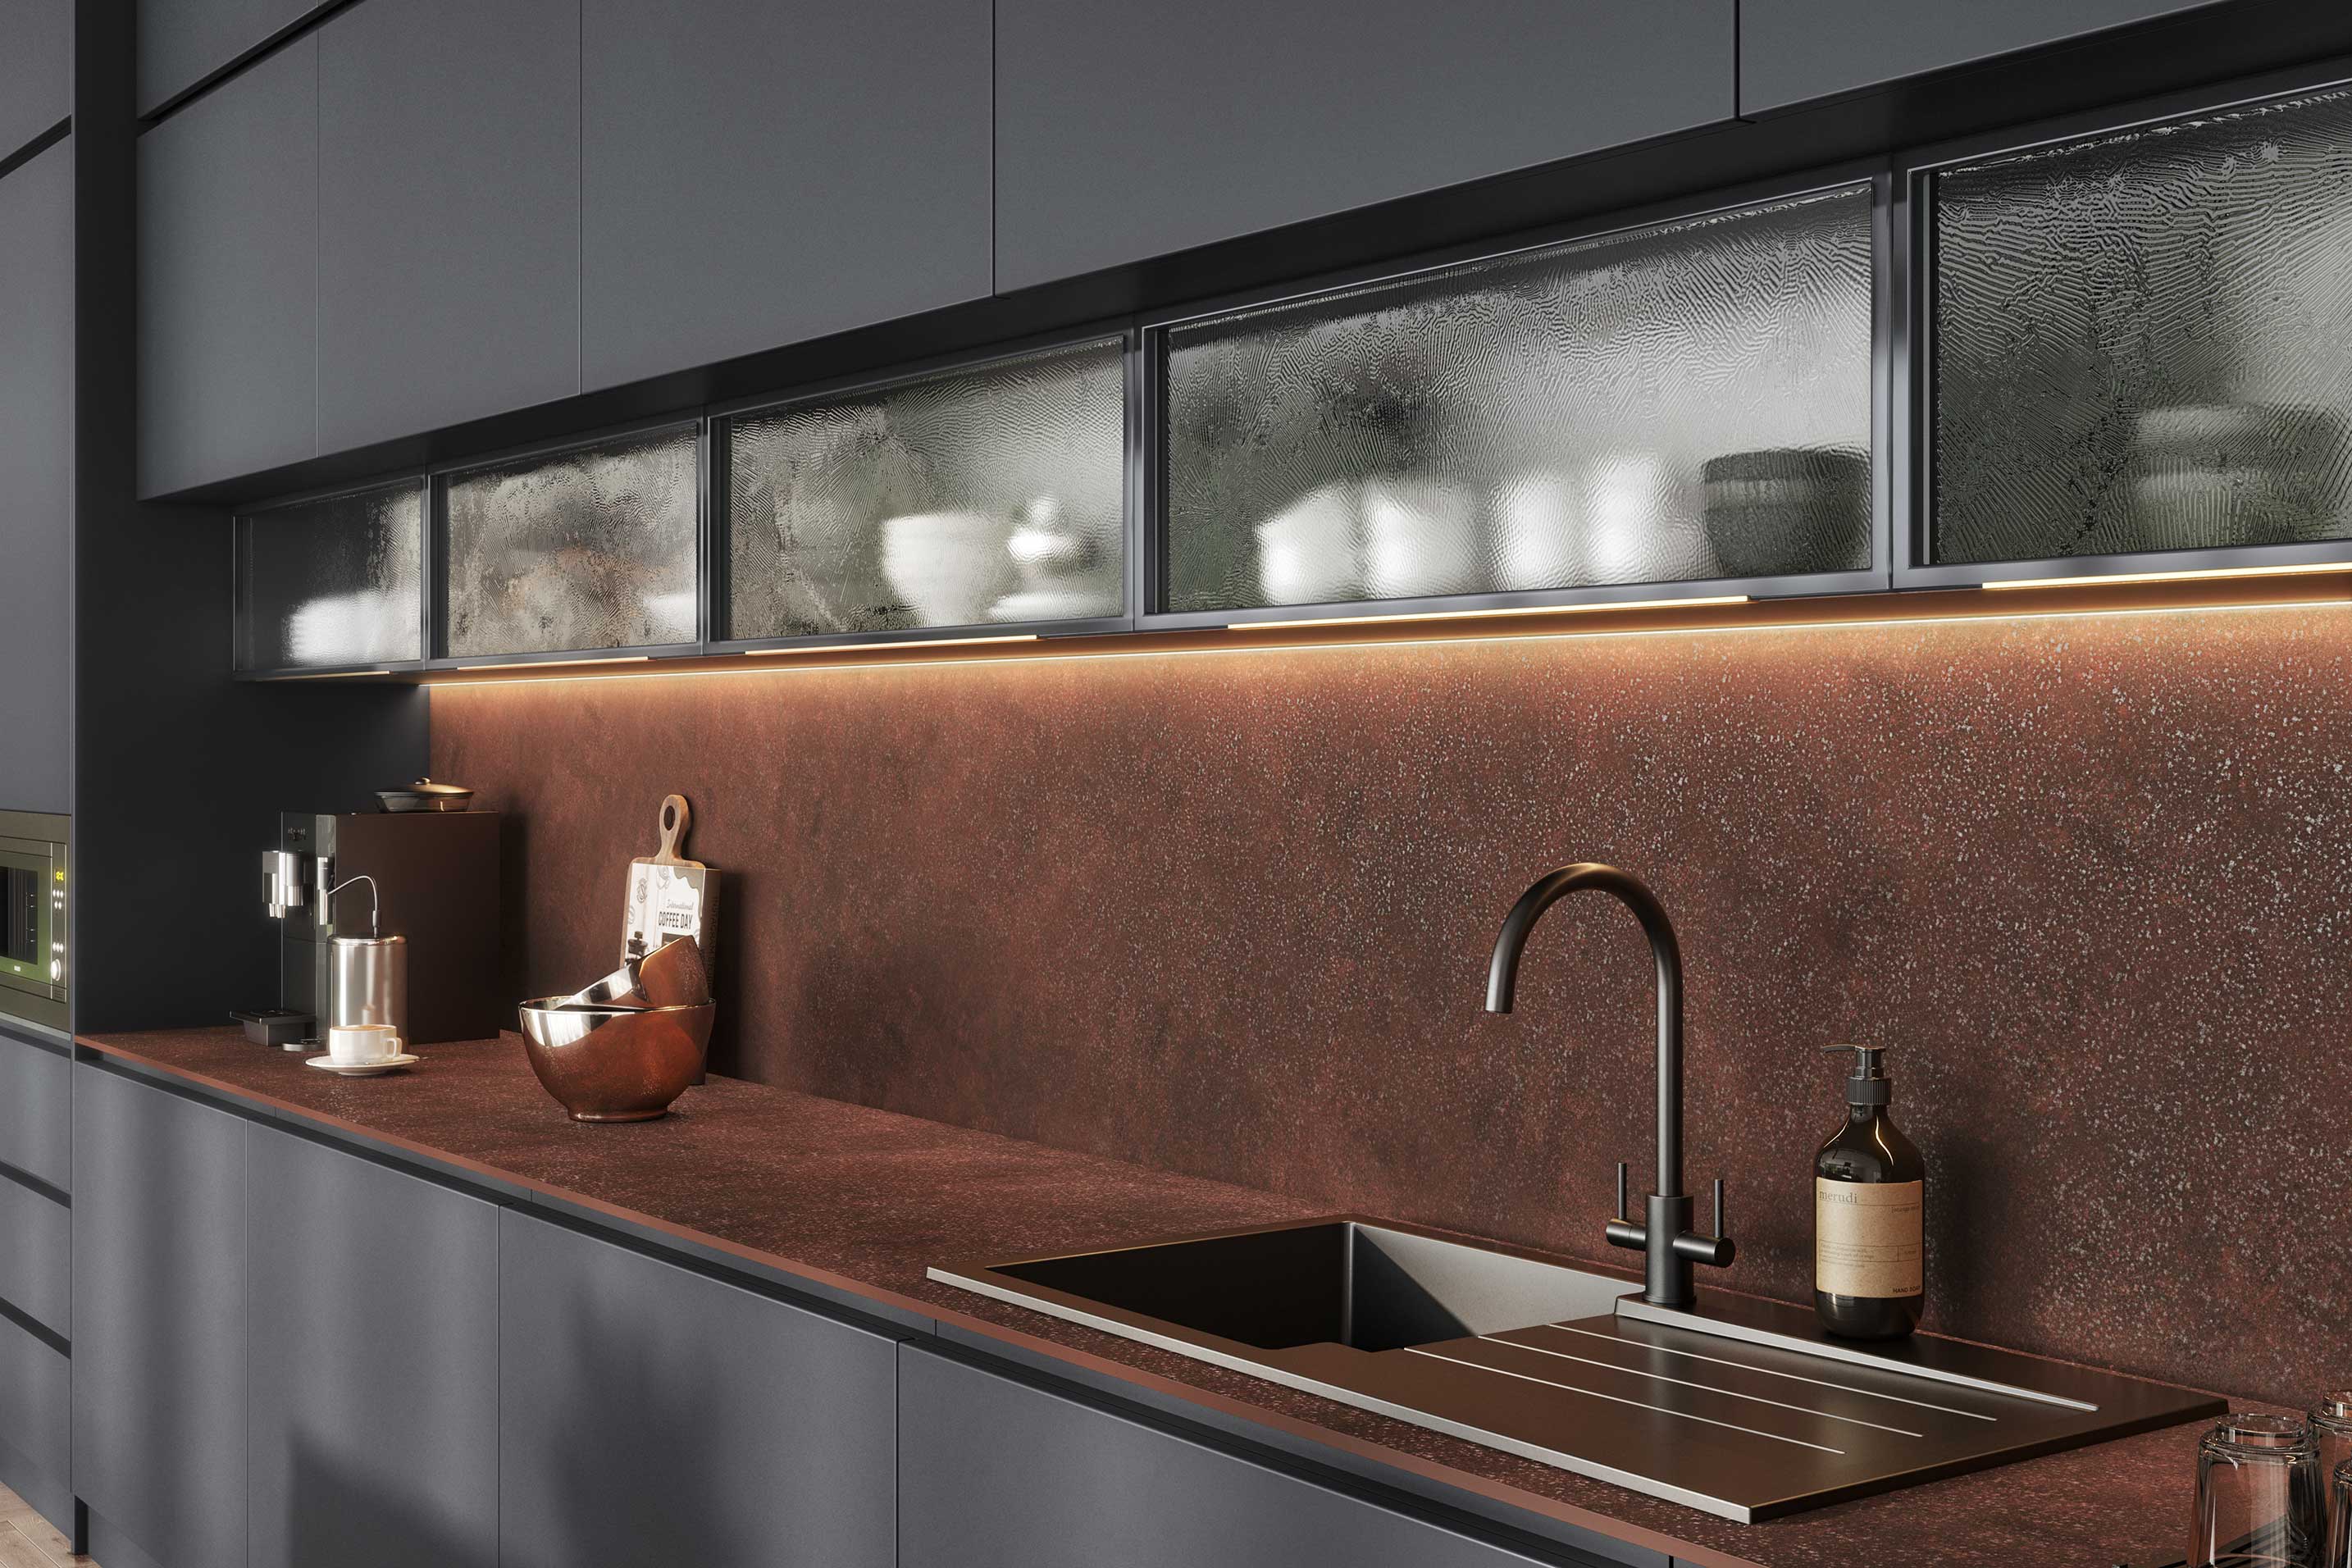
Yes but only if it is protected by a glass splashback - our laminate and compact laminate splashbacks are tested up to 180ºC but direct exposure to heat or flame from a gas hob requires the additional protection of a glass splashback. We suggest the glass splashback is placed at least 75mm from the back of the hob, but as the heat and flame on different gas hobs varies, we always recommend checking the instructions in the appliance's manual.
We recommend using a translucent silicone adhesive - such as Unika's Clear TopSeal - applied to the back of the splashback. Allow at least 24 hours for the silicone to fully cure before cleaning the surface.
You will need a circular saw fitted with a clean, sharp blade as well as clamps, masking tape, 240-grit sandpaper and personal protective equipment such as safety goggles. We recommend using a clamp guide if available to assist cutting in a perfectly straight line.
If fitting the Hafele Glass Splashback, mark the position of the four pre-drilled holes onto the laminate splashback, leaving a 2mm tolerance around all outside edges. Drill the four holes and secure the glass splashback using the fixings supplied, then seal around the edges with a suitable sealant to prevent moisture and dirt ingress.
