How to Fit a Splashback
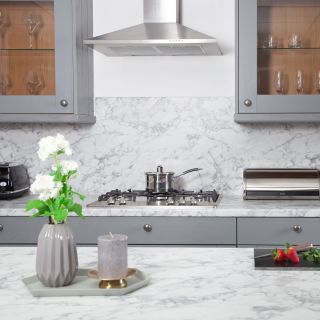
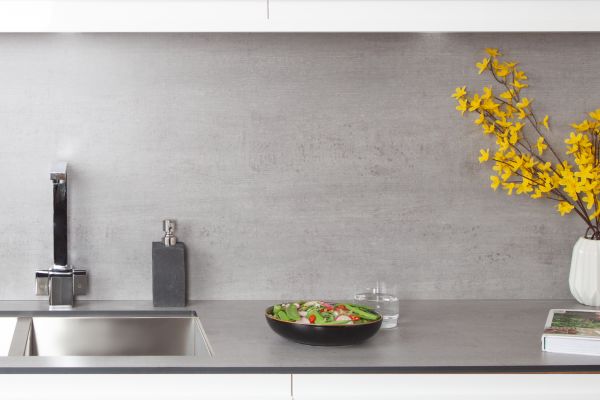
A perfect option for creating sleek and stylish features in your kitchen, splashbacks are also functional and protect your walls from splashes, spills and stains. Fitting splashbacks is simple regardless of whether yours is solid laminate or laminate. In this guide, we explain how to install yours by following these easy steps.
1. Measure and Mark Out the Area
- Start by measuring the height and width of the area of the kitchen wall you are going to fit your splashback to.
2. Cut the Splashback to Size
To avoid damaging the surface of the splashback whilst you work, lay some cardboard on the workbench. Although robust, we recommend applying masking tape along the edge that you intend to cut to avoid chipping.
- Lay the splashback face down and draw out the measurements onto the masking tape using a pencil.
- Secure the splashback to the workbench using clamps, placing cardboard under the clamp to avoid scratches.
- Using a clamp guide to guarantee a straight edge, and whilst wearing the correct personal protective equipment, cut along the line with a circular saw fitted with a clean, sharp blade.
- Remove the tape, and dust to remove any debris.
- To achieve a smooth finish, sand the cut edges with 240-grit sandpaper.
3. Attach the Splashback to the Wall
Before you attach the splashback to the wall, use a damp cloth to ensure that the area is clean and free of dust before drying well.
- To help the adhesive stick, sand the back of the splashback with 120-grit sandpaper.
- Apply three strips of 25mm x 1.5mm thick double-sided coated polyethene foam tape to the sides and centre of the back of the splashback.
- In between each strip of foam tape, apply some translucent silicone.
- Press the splashback firmly against the wall, ensuring it is flush. Wipe away any silicone that squirts from the edge before it dries.
- Wait for at least 24 hours for the silicone to dry and clean in necessary.
This is all the information you need about fitting kitchen splashbacks. If you have any questions, please do not hesitate to contact us.
Looking to buy a splashback? Take a look at our ranges.